How to make a fresh copy of micro SD card for Raspberry Pi from Windows 10 operating system

In this article, I will explain how to prepare a micro SD card from Windows 10 with a fresh copy of Raspberry Pi OS, so let’s start:

The first step is to refer the web browser to the official website raspberrypi.org and download the Raspberry Pi Imager software, which we will use to prepare a micro SD card for installing the Raspberry Pi OS on a Raspberry PI computer.

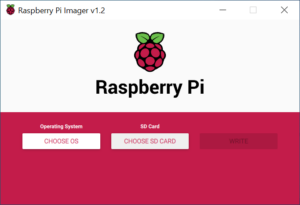
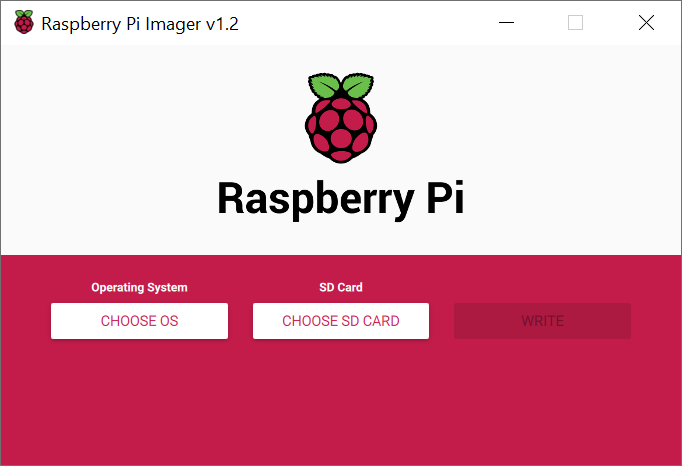
  • Open the Raspberry Pi Imager software on your Windows 10 computer.
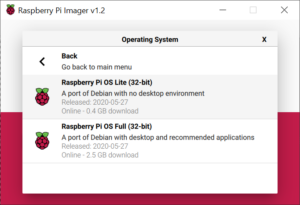
  • Click the CHOOSE OS button.
  • Select the version of the OS you want to install.
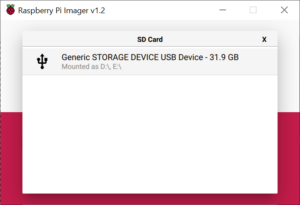
  • Click the CHOOSE SD CARD button.
  • Select the SD card, which you want to prepare for the installation of the Raspberry Pi OS.
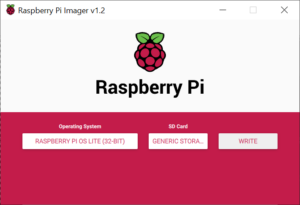
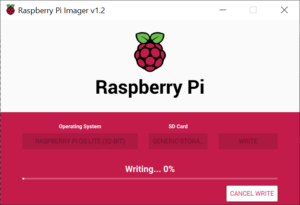
  • Click on WRITE button to start writing to SD card.
  • Wait until writing is complete.

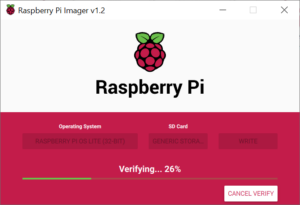
  • Wait a little bit more, until the written data is verified.
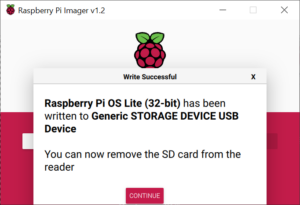
  • Clicking the DONE button completes the SD card preparation.
And all we have to do is insert the SD card into the Raspberry Pi and install the Raspberry Pi OS.
Until next time, thanks for visiting!
Raspberry Pi 4 Native USB Boot

It has finally arrived, unfortunately in beta but it still works, RPi 4 Native USB Boot. Say goodby to micro SD. I have been using RPi 4 for about four months or a little more, as a personal computer and I am mostly satisfied. Settings “boot” partition on micro SD card and “root” partition on
SD disk, works without any problems. But recently it has been possible to set up RPi 4 to boot directly from a USB drive!
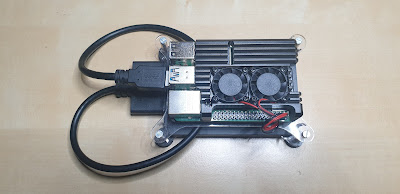
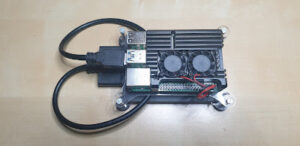
My RPi 4 Setup (RPi 4, 4GB, Samsung SSD 250GB, USB to S-ATA adapter, sertronic RPI4-ARC-FA case with cooler)

First I found a video on Youtube and tried to make it and I failed. Then an article came out on the portal, so I followed the instructions and again I failed. 
Opsss! What is happening? 
I used NOOBS for OS instead of Raspbian (oooo noooo). So I came to the conclusion that Native USB Boot does not work on NOOBS.
The following is a step-by-step guide on how to set up RPi 4 for Native USB Boot, or to Boot without micro SD.
So let’s get started:
  1. make a fresh copy of micro SD with Raspbian OS (Raspbian Imager, works on Windows, Linux and macOS)
  2. insert micro SD into RPi4 and power on
  3. install OS
  4. update OS:
    • sudo apt update
    • sudo apt full-upgrade
    • sudo rpi-update
  5. reboot RPi
  6. edit rpi-eeprom-update:
    • sudo nano /etc/default/rpi-eeprom-update
    • FIRMWARE_RELEASE_STATUS value from “critical” to “beta”
  7. update firmware:
    • sudo rpi-eeprom-update -d -f /lib/firmware/raspberrypi/bootloader/beta/pieeprom-2020-05-15.bin
  8. reboot RPi
  9. check firmware version:
    • vcgencmd bootloader_version
  10. clone micro SD to USB Drive (SD Card Copier)
  11. shutdown RPi
  12. remove micro SD
  13. power on RPi
And that should be it, now we have an RPi with an SSD that is significantly faster than a micro SD. Lots of fun and I hope this step by step guide is helpful.
Until next time, Thanks for visiting!