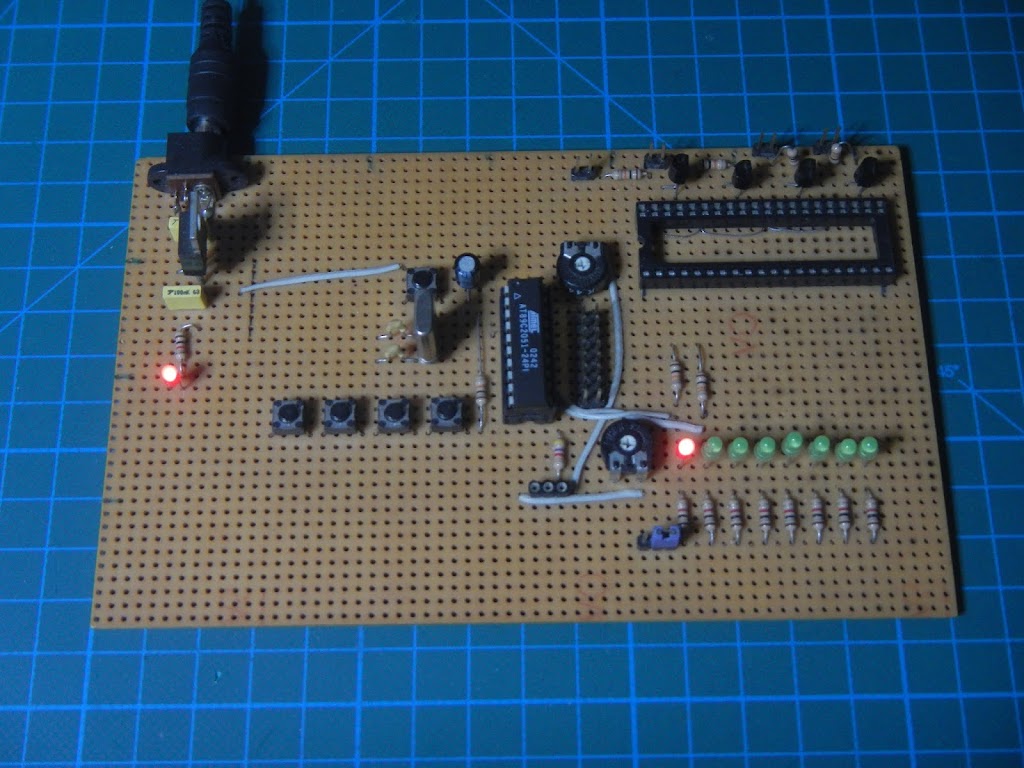
My Homemade AT89C2051 Development Board
First and foremost we need to install a compiler and we need a programmer to load the code into the microcontroller. In my case, I use TL866A Universal Programmer.
So let’s start with the installation of the compiler:
// install SDCC package:
apt install sdcc

// test instalation
sdcc --version
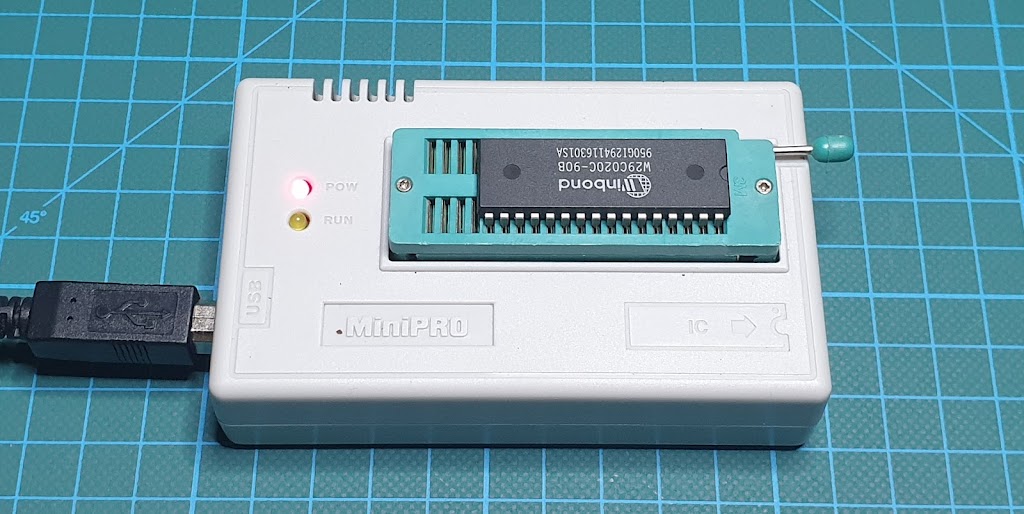
TL866A Universal Programmer
The next step is to install the programmer software:
// install dependencies for minipro
apt install build-essential pkg-config git libusb-1.0-0-dev

// get source code of minipro
git clone https://gitlab.com/DavidGriffith/minipro.git

// compile minipro software
cd minipro
make

// install application
sudo make install

// udev configuration
sudo cp udev/*.rules /etc/udev/rules.d/
sudo udevadm trigger

// add user to the plugdev group
sudo usermod -a -G plugdev YOUR-USER

// test instalation
minipro --version
For this occasion, I wrote the Blink c program for AT89C2051 and compiled it using SDCC on Debian Linux.
// ********************************************************
// Program:     Blink LED example
// Author:      Elvis Baketa
// Processor:   AT89C2051
// Oscillator:  12 MHz
// Compiler:    SDCC (Linux)
// Version:     0.1
// Comment:
// ********************************************************

#include "at89x051.h"

// declare function
void delayms(void);
void delay(int data);

// main function
void main(void)
{
    // declare variable
    int i = 0;

    // run once
    P1_0 = 1;

    // loop forever
    while(1)
    {
        // turn LED on
        P1_0 = 0;
        // wait 1 second
        delay(1000);
        // turn LED off
        P1_0 = 1;
        // wait 1 second
        delay(1000);
    }
}

// delay one milisecond
void delayms(void)
{
    int i;
    // count to 33 for 1 ms delay
    for (i = 0; i < 34; i++);
}

// amount of milisecond to delay
void delay(int data)
{
    int i;
    for (i = 0; i < data; i++)
    {
        delayms();
    }
}
You can find source code on GitHub repo blink at89c2051.
Until next time.